Provisioning and deploying Azure Static Web Apps via an Azure DevOps pipeline
Provisioning and deploying Azure Static Web Apps can now be fully automated in Azure DevOps using the Static Web Apps CLI, eliminating manual steps in the Azure Portal and streamlining the entire workflow.

Introduction
Provisioning Azure Static Web Apps and deploying applications to them has traditionally involved manual steps in the Azure Portal. While this works for simple scenarios, it introduces friction in automated pipelines. A more streamlined approach is now available: by using the Static Web Apps CLI, you can deploy your application to a provisioned Static Web App entirely through your Azure DevOps pipeline.
Traditional approach and its limitations
In the traditional approach via the Azure Portal, provisioning a Static Web App also creates an Azure DevOps pipeline in the Git repository. This pipeline makes use of the task AzureStaticWebApp@0, which has its limitations.
Provisioning a Static Web App via the Azure Portal
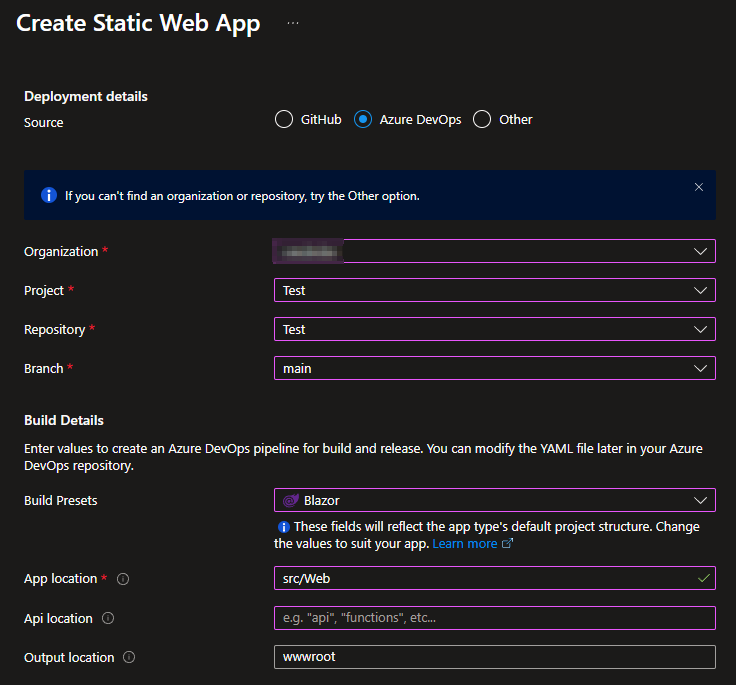
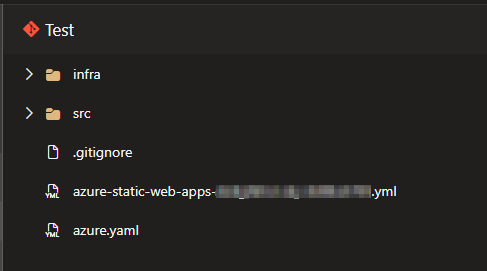
Results in the creation of an Azure DevOps pipeline in the Git repository
Which is then configured as the deployment source for the Static Web App

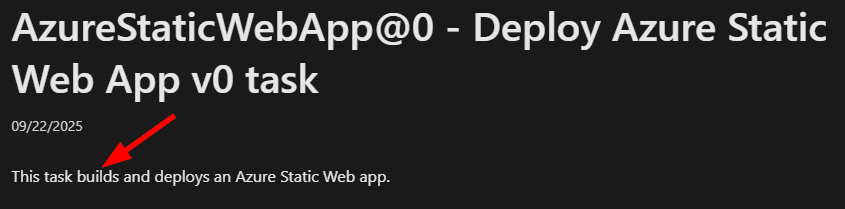
According to Microsoft’s documentation, the AzureStaticWebApp@0 task builds and deploys your application in a single step. While this might seem convenient, it introduces a major drawback in real-world DevOps scenarios, especially when using multistage pipelines like dev, test and prod.
In this setup, the task rebuilds the application for every environment. This violates one of the core DevOps best practices: build once, deploy many times. Not adhering to this practice might result in:
- Slow pipelines because a build is triggered for each environment.
- Less consistency since the build artifact is created multiple times, increasing the risk of differences.
- Higher costs as repeated builds make pipeline runs take longer and consume more resources.
The SWA CLI approach and its benefits
With the release of the Static Web Apps CLI, it is now possible to fully automate the deployment of applications to Static Web Apps from CI/CD pipelines while following DevOps best practices.
The example below demonstrates how to create and publish the build artifact once, and then reuse it for deployments across multiple environments. The Azure CLI is used to provision the Static Web App, while the Static Web Apps CLI handles the deployment of the application.
Although the example uses an Azure DevOps pipeline, the same CLI based workflow can also be applied to other platforms such as GitHub Actions.
Publish the application once
1
2
3
4
5
6
7
8
9
10
11
12
13
 # Publish the Blazor WebAssembly project
 - pwsh: |
     dotnet publish $(projectPath) `
       --configuration $(buildConfiguration) `
       --output $(outputPath)
   displayName: 'Publish Blazor WASM'

 # Publish the build output as a pipeline artifact
 - task: PublishPipelineArtifact@1
   displayName: 'Publish build artifact'
   inputs:
     targetPath: $(outputPath)
     artifact: blazor-publish
Deploy the artifact to multiple environments (by running this for each environment)
1
2
3
4
5
6
7
8
9
10
11
12
13
14
15
16
17
18
19
20
21
22
23
24
25
26
27
28
29
30
31
32
33
34
35
36
37
38
39
40
41
 # Download the published build artifact from a previous stage
 - task: DownloadPipelineArtifact@2
   displayName: 'Download build artifact'
   inputs:
     artifact: blazor-publish
     path: $(Pipeline.Workspace)/publish

 # Deploy the Static Web App using Azure CLI
 - task: AzureCLI@2
   displayName: 'Deploy to ${{ parameters.environmentName }}'
   inputs:
     azureSubscription: ${{ parameters.serviceConnection }}
     scriptType: pscore
     scriptLocation: inlineScript
     inlineScript: |
       # Install the Static Web Apps CLI
       npm install -g @azure/static-web-apps-cli

       # Set variables
       $staticAppName = "${{ parameters.staticWebAppName }}"

       # Set default resource group
       az configure --defaults group=${{ parameters.resourceGroup }}

       # Create the Static Web App
       az staticwebapp create `
         --name $staticAppName `
         --location ${{ parameters.region }}

       # Retrieve the deployment token
       $deploymentToken = az staticwebapp secrets list `
         --name $staticAppName `
         --query "properties.apiKey" `
         -o tsv

       # Deploy the app
       swa deploy `
         --app-name $staticAppName `
         --app-location "$(Pipeline.Workspace)/publish/wwwroot" `
         --deployment-token $deploymentToken `
         --env ${{ parameters.deploymentEnv }}
Here’s what each step does:
npm install: Installs the Static Web Apps CLI on the build agent.az configure: Sets the default resource group for subsequent Azure CLI commands.az staticwebapp create: Provisions a new Static Web App. This command is idempotent, which means it will not fail if the app already exists.az staticwebapp secrets list: Retrieves the deployment token for your app.swa deploy: Deploys your built application to the Static Web App.
Once the deployment completes, the Source property of the Static Web App in the Azure Portal will display SwaCli, indicating that the deployment was performed using the Static Web Apps CLI.

Conclusion
Both deployment methods are effective, but the traditional approach requires a manual provisioning step, which limits automation and makes it harder to integrate with modern DevOps practices.
By using the Static Web Apps CLI, you can provision and deploy Static Web Apps entirely through code and CI/CD pipelines. This leads to a cleaner, more scalable, and fully automated workflow, regardless of whether you are using Azure DevOps, GitHub Actions, or another platform.